

You Don’t Need To Be a Web Dev To Write on WordPress.
You just need this guide. And 5 minutes.
One of the most common questions new contributors ask is:
“How do I actually submit my articles?”
The answer is that RestAwhile™ uses WordPress as its content management system, and contributors are given direct Author-level access to the backend.
This means you write, format, and submit your articles directly on the platform. No email attachments, shared Google Docs (unless in the drafting stage). No back-and-forth with file formats.
If you have never used WordPress before, that is completely fine. This guide will walk you through everything you need.

Step 1: Receiving Your Invitation
When you are formally welcomed to the RestAwhile™ team, you will receive an email invitation from WordPress at the email address you registered with.
The subject line will read something like: “[RestAwhile™] You’ve Been Invited!”
Open that email and click the acceptance link. If the link has expired (they expire after a few days), contact your editorial team point of contact, and they will resend it.
Do not try to create a new WordPress account independently. You need to be added by the admin.

Step 2: Setting Up Your Author Account
Once you accept the invitation, you will be prompted to log in to your WordPress account with your username and password.
The administrator will give you your username and password. This is created before your invitation.
Once logged in, you will find yourself in the WordPress Dashboard. Welcome, time to get started.
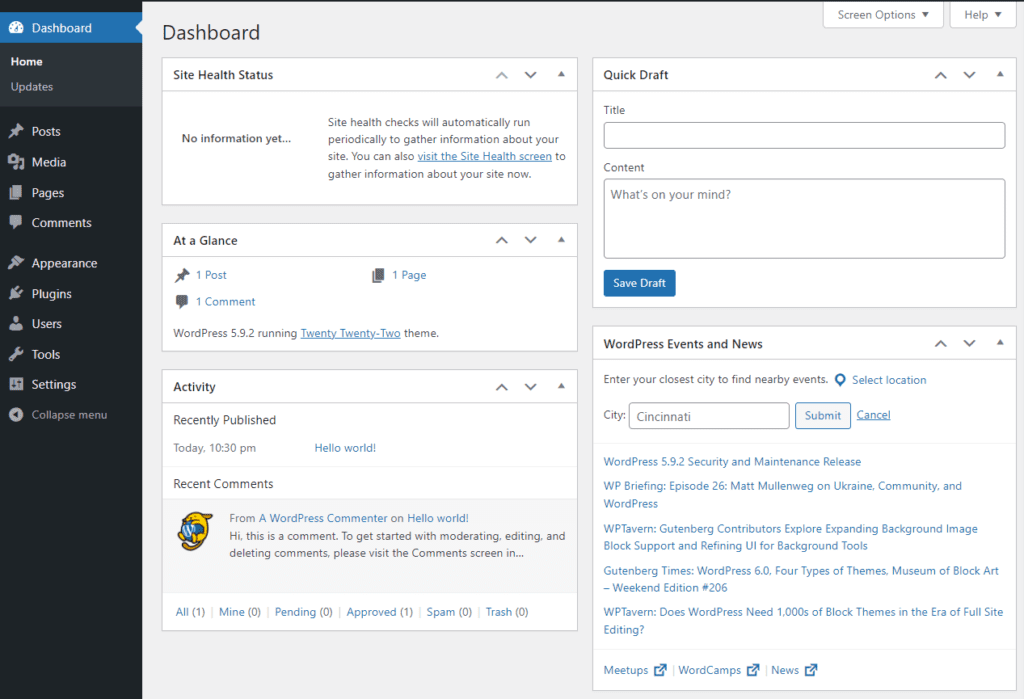
Step 3: Navigating the WordPress Dashboard
When you log in to WordPress, you will land on the Dashboard. A control panel that shows you an overview of recent activity on the site.
As an Author, your access is intentionally limited to the things you need:
✅ Posts: Where you write, edit, and manage your articles. This is your primary workspace.
✅ Media: Where you upload images to use in your articles.
✅ Profile: Where you manage your account information.
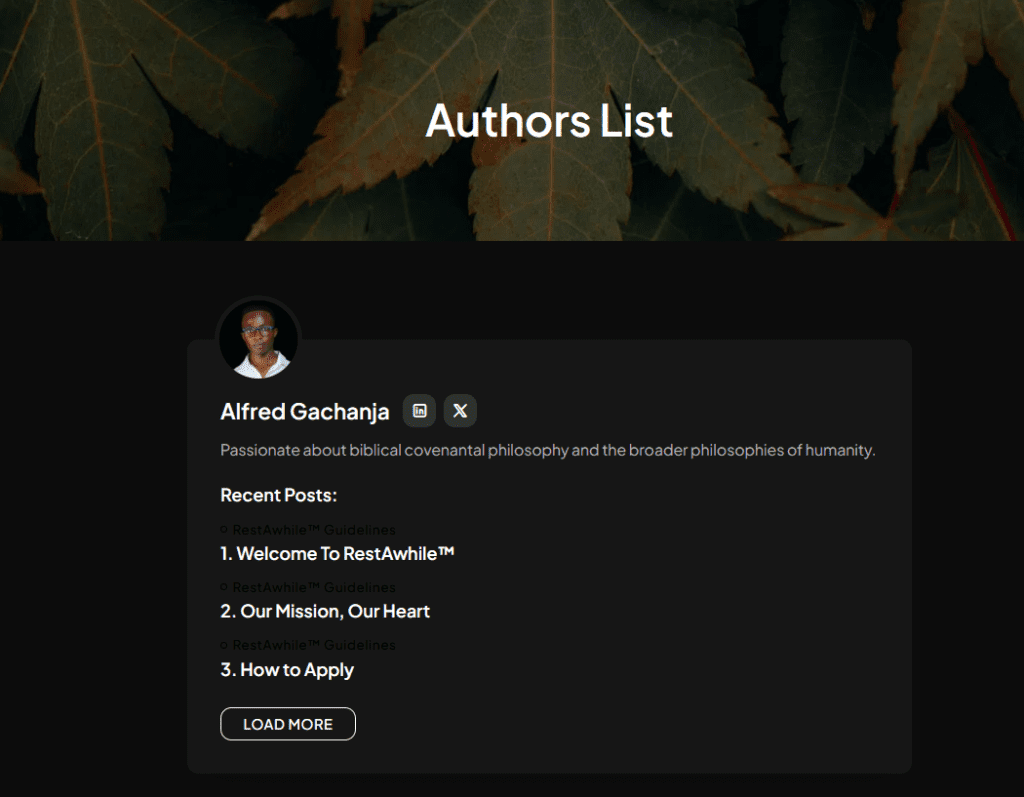
Start editing your profile as soon as you’re set up. Add description to your bio section (who you are in 2 sentences), and your preferred socials for readers who may want to reach out.
Your information will appear publicly in the Authors List.
You will not have access to the site’s theme settings, plugins, or other users’ accounts. This is intentional. It keeps the backend clean and prevents accidental changes to the site structure.
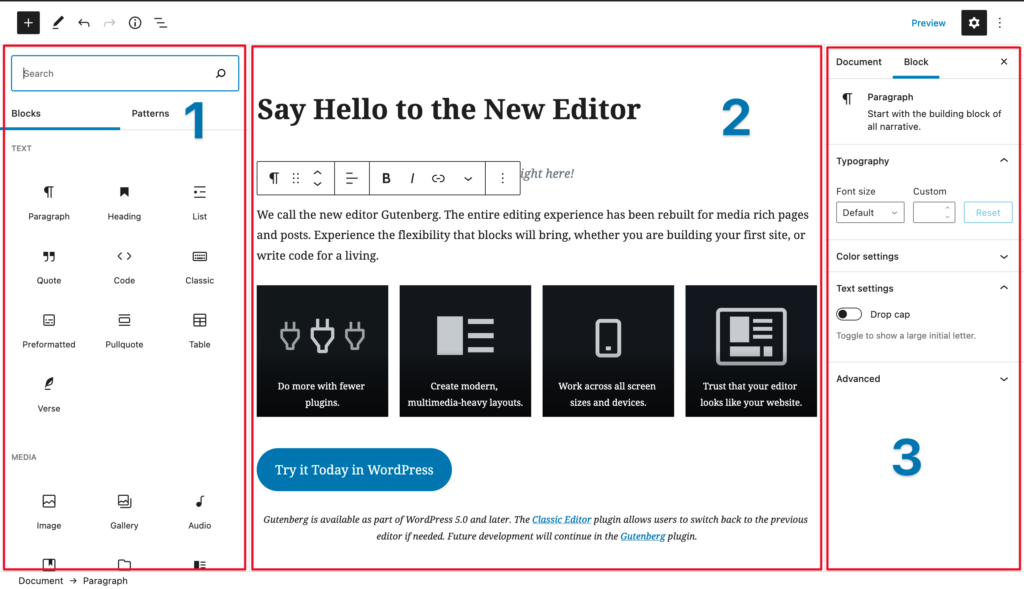
Step 4: Creating a New Post
To write a new article, go to Posts → Add New.
This opens the WordPress Block Editor (also called Gutenberg), which uses a block-based system where each paragraph, image, heading, or quote is its own content block.
Here is what to do when you open a new post:
✅ Add your title
Enter your title in the “Add title” field at the top of the page.
✅ Write your introduction
Click into the main content area and begin typing. Each time you press Enter, a new paragraph block is created.
✅ Add subheadings
Press Enter to create a new block, then click the “+” icon and select Heading. Choose H4 from the heading level options.
✅ Insert images
Press Enter, click the “+” icon, and select Image. Upload from your device or choose from the Media Library.
✅ Include callout text
To highlight key ideas, add a new block using the “+” icon and select Quote.
Step 5: Formatting in the Block Editor
Within any text block, you can apply formatting using the toolbar that appears above the block when you click on it.
Key options include:
✅ Bold: Highlight text and “click B”, or press “Ctrl/Cmd + B”
✅ Italic: Highlight text and “click I”, or press “Ctrl/Cmd + I”
✅ Link: Highlight text and click the link icon to add a hyperlink (paste the URL and press Enter)
✅ List: Click the “+” icon and choose “List” for bullet or numbered lists
If you wanna learn visually, search on YouTube ‘How To Use Block Editor On WordPress‘ and you should be good.
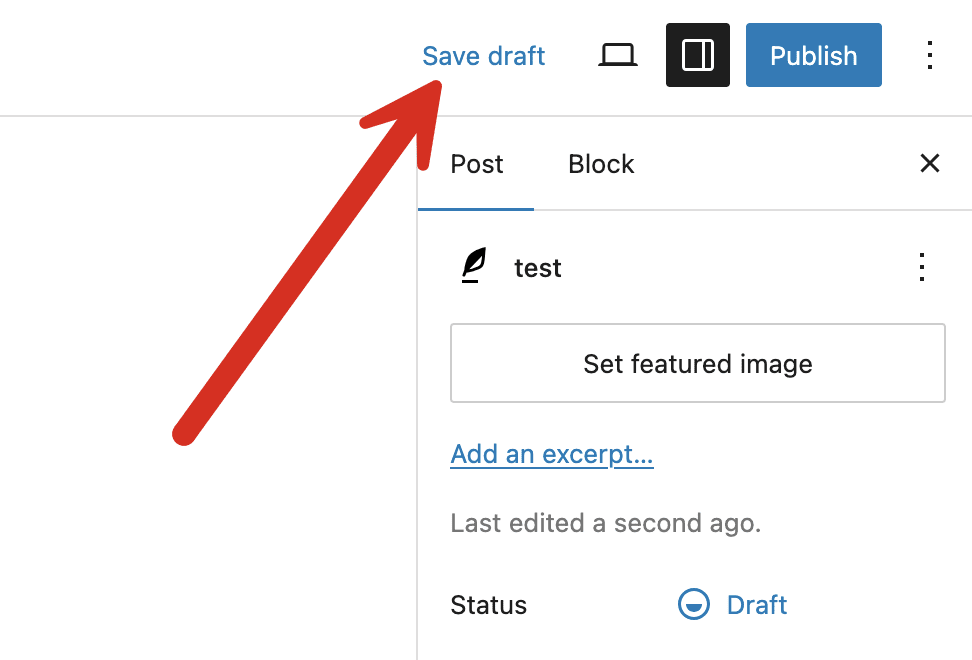
Step 6: Saving and Submitting for Review
WordPress auto-saves your draft as you work. You can also manually save by pressing “Ctrl/Cmd + S” or clicking the “Save Draft” button in the top right corner.
When your article is ready for editorial review, communicate to the team that your article is ready for review by the chief editor.
This flags your article for the editorial team without publishing it. You will receive feedback through the editorial team’s preferred communication channel. This may be WhatsApp, email, or comments within the WordPress post itself.
NEVER click “Publish” on your own. All articles go through editorial review before they go live.